Creating A CA And Adding It To Windows Through Group Policy

Now this is a little late, I should have written and released this before my next-cloud blog as it discussed creating a certificate but i have never discussed creating the CA for creating the cert. So lets get on with this!
Step 1 Creating the CA
I will be using PFsense for my CA in this guide. So open a browser window and go t your PFSense routers page and log in. Once you have logged in click on System > Cert. manager.

Now you can see i already have 2 CA’s one that i use for my websites and one for my Open VPN. The one i have added to my windows trusted CA is the “PFSense” CA. Now we will go over how I created this CA. Click on the little add button in the lower right hand side of the table.

Realistically the only things you need to fill in on this page are Descriptive Name and Common Name, I put the same name in both to make things simpler. Now enter both those names and any other information you wish to enter and click Save. You will then be sent back to the Certificate Authority page. Click on the pointy circle ( I cant think of a better way to describe it) pictured below to download your CA Cert.

Step 2 Adding Your CA To Windows Using Group Policy
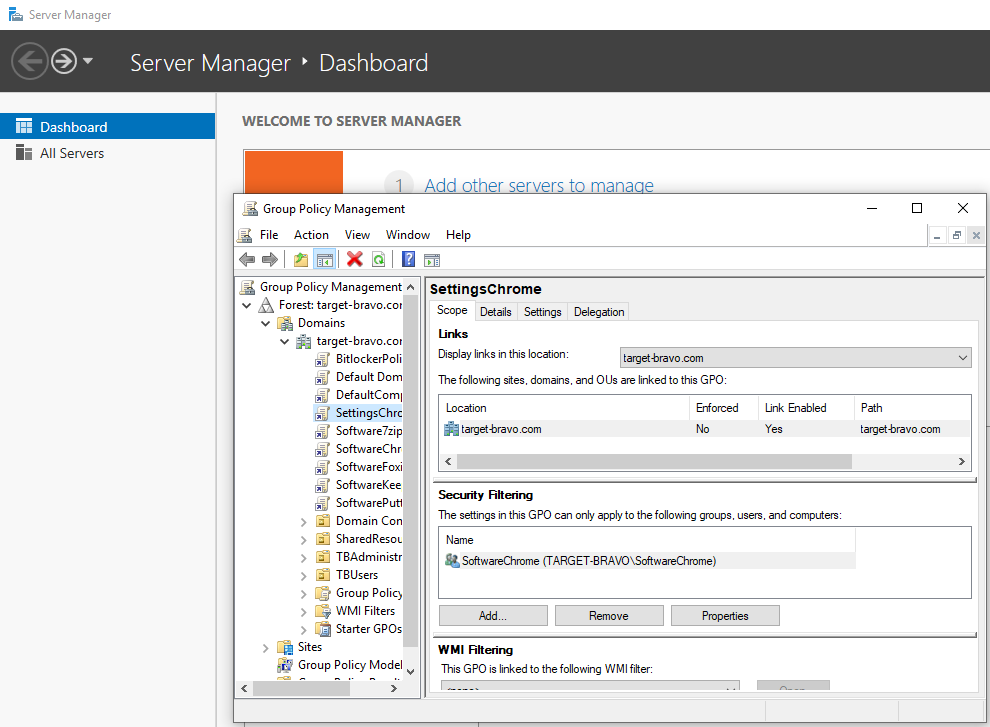
Open up group policy management on a computer of your choice as an administrator.
Now with this we have a few options, You can create a new policy and add this setting we are going to add to that or you can add the setting to an existing policy. For this guide we are going to be adding it to “Default Domain Policy” the reason im doing this is i want to add this CA to all my domain computers and this is the best way to do this as this policy applies to all your computers. So select Default Domain Policy right click and select edit you will then be greeted by the below.

Navigate to Computer Configuration > Policies > Windows Settings > Security Settings > Public Key Policies> Trusted Root Certification Authorities. Right click in here and select Import.

Hit Next. You then get the below screen.

This is where we add the certificate we downloaded earlier. The rest is Next, Next and Finish. And thats it the certificate will now be installed on all computers that this applies to. One last thing that i will add is that you may want to add a permission to this group policy as by default its not added (which is strange as without this permission group policys dont work) Go to delegation for your gorup policy.

Click Add in the bottom this will bring up a new window enter “Domain Computers” click OK and on the next screen Ok and that will allow your computers to read the group policy and apply it.