Configuring NextCloud on Unraid

Step 1 install the container
If you haven't already added community applications to Unraid paste the below into the install plugin URL
https://raw.githubusercontent.com/Squidly271/community.applications/master/plugins/community.applications.plg
Once you have this installed open the "APPS" menu now showing on your Unraid webui this should look like the below.
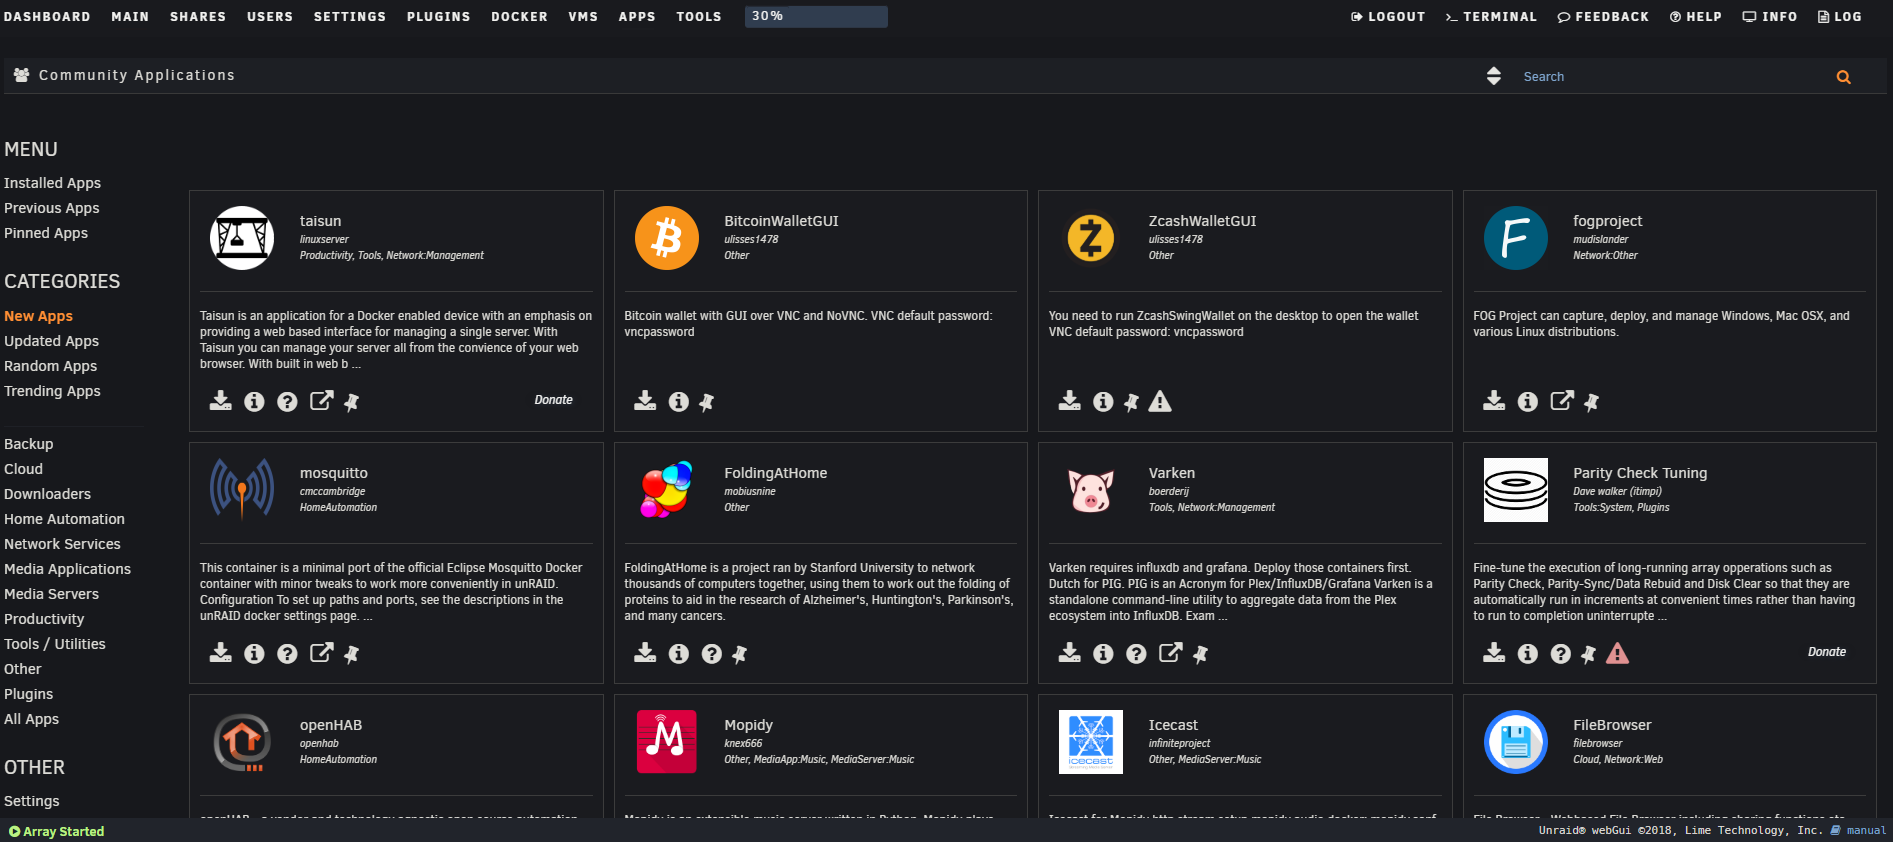
Do a search in this application for Next cloud. It should bring up a tile that looks like the below, select the icon that has a down arrow with a small rectangle this will open the configuration for your new docker container.

This will bring up the configuration for the docker.

There are a few changes we need to make here first is network, Select "Custom : br0" for the network type and then give it a free IP address on your network. This will allow you to use SSL properly later. Next you need to select a folder on your Unraid box for the files to be stored this is done by adding a folder path of your choosing to the "Host Path 2:" field. When finished select apply and the required files will be downloaded and the docker created and started. however we are going to do some further config so when its finished stop the d docker container.
Step 2 DNS
Now we need to configure some DNS unless you want to access your next cloud server by IP. Open your DNS Server in my case its Microsoft DNS as i am not allowing my next cloud server to be accessible externally. However if you want external network access you can use an external DNS pointed toward the appropriate IP.

Select forward look up zone, then select the appropriate domain. Once selected Right click then "New Host A or (AAAA)" this will bring up a new window.

For the sub-domain i want to use "nextcloud.target-bravo.com" you need to enter "nextcloud" in the name field. then you enter the IP address of your server in the IP address field. then you add host and this step is done.
Step 3 Initial Set up
Now we need to start the docker container for Next Cloud. Once started use the DNS address you assigned the server, only use the IP address if you want to be using that for future communication as the server will not respond to other addresses once you have completed the initial setup. Once connected you will see the below screen.

On this screen enter a username and password for your Next Cloud's admin account. I advise this to be separate from the one you use day to day to enhance the security. when entered click finish setup and initial setup is mostly complete.
Step 4 Custom SSL Cert
Now if you are anything like me having to see the annoying browser acceptance page every time you access your apps. so i have managed to work out how to add a custom cert to this docker image.
This Section will go through generating a cert for you website using PFSense, however you can use alternate CA's if they are available to you such as Lets Encrypt.
Now in a previous post we added PFSense to the windows trusted root CA of windows using group policy.
Open a browser to your PFSense router and log in using your admin credentials, When you have logged in go to System > Cert. Manager. Select certificates and then add new certificate. you should then be presented by this page.

Change the below fields the rest can be left as defaults.
Descriptive name: Add a name that will mean something to you later
Common Name : Change this to the name we gave our server earlier
Certificate Type: Server Certificate
Alternative Names: although this server wont connect via alternate names now i add the IP address of this server for good measure so the Type will be "IP Address" and the Value will be the IP address of the server.
When you have finished click add and the certificate will be created, Now you need to download the certificate and key files. this is done by clicking on the below icons next to the relevant certificate.

When you have both downloaded rename them to cert.crt for the crt file and cert.key for the key file.
Now to simplify this process i briefly made my appdata folder accessible as a SMB share so i could copy the files in. After i did this i executed the below commands using Unraid's terminal.
mkdir /mnt/user/appdata/nextcloud/keys/backup/
cp /mnt/user/appdata/nextcloud/keys/cert.crt /mnt/user/appdata/nextcloud/keys/backup/cert.crt
cp /mnt/user/appdata/nextcloud/keys/cert.key /mnt/user/appdata/nextcloud/keys/backup/cert.key
These 3 commands make a new folder and copy the existing keys in case something goes wrong.
mkdir /mnt/user/appdata/nextcloud/keys/new/
This will make a folder we can write the keys we downloaded and re-named earlier into. Once its created copy the files using windows explorer into that folder. When you have copied the files stop your NextCloud docker container. and run the below commands to overwrite the old cert and key file with the new ones.
cp /mnt/user/appdata/nextcloud/keys/new/cert.crt /mnt/user/appdata/nextcloud/keys/cert.crt
cp /mnt/user/appdata/nextcloud/keys/new/cert.key /mnt/user/appdata/nextcloud/keys/cert.key
Now when you re-start your NextCloud docker it will use your certificates and you wont be bothered by the annoying security window anymore.
With that we are done with the main system configuration of NextCloud on Unraid, the rest of the configuration is usability tweaks that you may want to make to the sever but i will leave that to you.